소개
더 나은 사용자 경험을 위해 앱 리소스의 로드 시간은 사용자 상호작용에 상당한 영향을 미칠 수 있습니다.
앱 리소스를 준비하는 동안 대기 시간을 줄이기 위해 스플래시 화면을 사용할 수 있습니다. 스플래시 화면은 사용자에게 독특하고 매력적인 경험을 제공하지만 구축하기 어려울 수도 있습니다.
이 블로그 포스트에서는 SplashScreen API를 사용하여 간단한 스플래시 화면을 만드는 방법을 배웁니다. 이 API에는 앱이 시작될 때 미리 정의된 애니메이션이 포함되어 있습니다:
- 앱 시작시 앱 내부 모션,
- 앱 아이콘이 표시되는 스플래시 화면, 및
- 앱 자체로의 전환; 스플래시 화면을 구현하기 위한 표준 선택지로 만듭니다.
또한, API는 스플래시 화면의 가시성을 제어하는 인터페이스를 제공하며 호환성이 있습니다.
구현 단계
Android 11(API 30) 및 이하 버전의 사용자를 대상으로 합니다:
- 빌드.gradle 파일에 SplashScreen 코어 라이브러리를 추가하세요.
implementation("androidx.core:core-splashscreen:1.0.1");
- drawable/splash_screen.xml 파일에 스플래시 화면 레이아웃을 위한 새로운 드로어블 리소스를 만드세요.
<item>
    <color android:color="@color/purple"/>
</item>

<item
    android:gravity="center"
    android:drawable="@drawable/logo"/>
- Add the new theme style in your res/values/themes.xml file.
<?xml version="1.0" encoding="utf-8"?>
<resources>

    <style name="Theme.LazaShop" parent="android:Theme.Material.Light.NoActionBar">
        <item name="android:statusBarColor">@color/white</item>
    </style>

    <style name="Theme.App.Starting." parent="Theme.SplashScreen" >
        <item name="android:statusBarColor">@color/purple</item>
        <item name="android:windowBackground">@drawable/splash_screen</item>
    </style>

</resources>
- 새로운 SplashActivity를 만들고 코드를 추가하세요.
@SuppressLint("CustomSplashScreen")
class SplashActivity : ComponentActivity() {
    private val delay = 2000L
    override fun onCreate(savedInstanceState: Bundle?) {
        val splashScreen = installSplashScreen()
        splashScreen.setKeepOnScreenCondition{true}

        super.onCreate(savedInstanceState)

        lifecycleScope.launch {
            lifecycle.repeatOnLifecycle(Lifecycle.State.CREATED) {

                delay(delay)

                val intent = Intent(this@SplashActivity,
                        MainActivity::class.java)
                startActivity(intent)
                finish()
            }
        }

    }
}
- 시작 활동(SplashActivity)의 테마 속성을 manifests/AndroidManifest.xml 파일에서
Theme.App.Starting으로 설정하세요.
<?xml version="1.0" encoding="utf-8"?>
<manifest xmlns:android="http://schemas.android.com/apk/res/android"
    xmlns:tools="http://schemas.android.com/tools">

    <application
        android:allowBackup="true"
        android:dataExtractionRules="@xml/data_extraction_rules"
        android:fullBackupContent="@xml/backup_rules"
        android:icon="@mipmap/ic_launcher"
        android:label="@string/app_name"
        android:roundIcon="@mipmap/ic_launcher_round"
        android:supportsRtl="true"
        android:theme="@style/Theme.LazaShop"
        tools:targetApi="31">
        <activity
            android:name=".SplashActivity"
            android:exported="true"
            android:theme="@style/Theme.App.Starting.">
            <intent-filter>
                <action android:name="android.intent.action.MAIN" />

                <category android:name="android.intent.category.LAUNCHER" />
            </intent-filter>
        </activity>
        <activity
            android:name=".MainActivity"
            android:exported="true"
            android:theme="@style/Theme.LazaShop">
        </activity>
    </application>

</manifest>
Android 12 (API 31) 이상 사용자 대상:
- 적어도 API 31로 컴파일 SDK를 업데이트하세요.
android {
    ...
    compileSdk 33
    ...


    }
- 아직 추가하지 않았다면 build.gradle 파일에 SplashScreen 코어 라이브러리를 추가하세요.
implementation("androidx.core:core-splashscreen:1.0.1")
- drawable-v31/splash_screen.xml 파일에 스플래시 화면 레이아웃을 위한 새로운 drawable 리소스를 만드세요.
<?xml version="1.0" encoding="utf-8"?>
<layer-list xmlns:android="http://schemas.android.com/apk/res/android">

        <item>
            <color android:color="@color/purple"/>
        </item>

        <item
            android:gravity="center"
            android:drawable="@drawable/logo"/>
</layer-list>
- 새로운 테마 스타일을 res/values-v31/themes.xml 파일에 추가하세요.
<?xml version="1.0" encoding="utf-8"?>
<resources>
    <style name="Theme.LazaShop" parent="android:Theme.Material.Light.NoActionBar">
        <item name="android:statusBarColor">@color/white</item>
    </style>

    <style name="Theme.App.Starting." parent="Theme.SplashScreen" >
        <item name="android:statusBarColor">@color/purple</item>
        <item name="windowSplashScreenBackground">@color/purple</item>
        <item name="windowSplashScreenAnimatedIcon">@drawable/splash_screen</item>
    </style>
</resources>
- 새로운 SplashActivity를 만들고 코드를 추가하세요.
@SuppressLint("CustomSplashScreen")
class SplashActivity: ComponentActivity() {
    private val delay = 2000L
    override fun onCreate(savedInstanceState: Bundle?) {
        val splashScreen = installSplashScreen()
        splashScreen.setKeepOnScreenCondition{true}

        super.onCreate(savedInstanceState)

        lifecycleScope.launch {
            lifecycle.repeatOnLifecycle(Lifecycle.State.CREATED) {
                delay(delay)

                val intent = Intent(this@SplashActivity, MainActivity::class.java)
                startActivity(intent)
                finish()
            }
        }
    }
}
- /manifests/AndroidManifest.xml 파일에서 시작 활동(SplashActivity)의 theme attribute을 Theme.App.Starting으로 설정하세요.
<?xml version="1.0" encoding="utf-8"?>
<manifest xmlns:android="http://schemas.android.com/apk/res/android"
    xmlns:tools="http://schemas.android.com/tools">

    <application
        android:allowBackup="true"
        android:dataExtractionRules="@xml/data_extraction_rules"
        android:fullBackupContent="@xml/backup_rules"
        android:icon="@mipmap/ic_launcher"
        android:label="@string/app_name"
        android:roundIcon="@mipmap/ic_launcher_round"
        android:supportsRtl="true"
        android:theme="@style/Theme.LazaShop"
        tools:targetApi="31">
        <activity
            android:name=".SplashActivity"
            android:exported="true"
            android:theme="@style/Theme.App.Starting">
            <intent-filter>
                <action android:name="android.intent.action.MAIN" />

                <category android:name="android.intent.category.LAUNCHER" />
            </intent-filter>
        </activity>
        <activity
            android:name=".MainActivity"
            android:exported="true"
            android:theme="@style/Theme.LazaShop">
        </activity>
    </application>

</manifest>
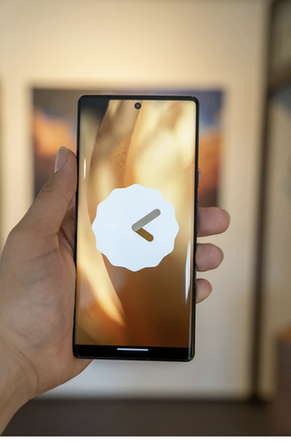
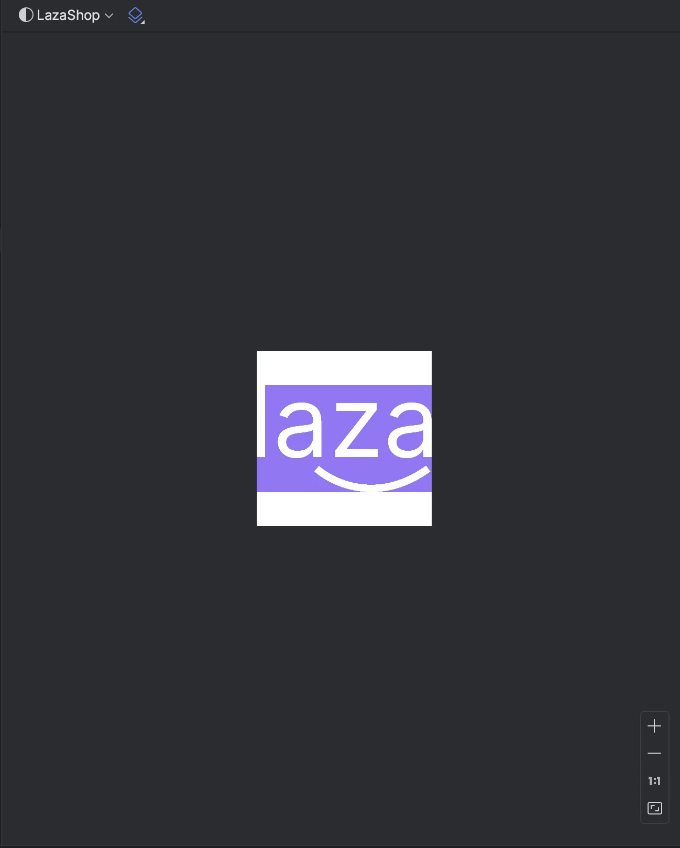
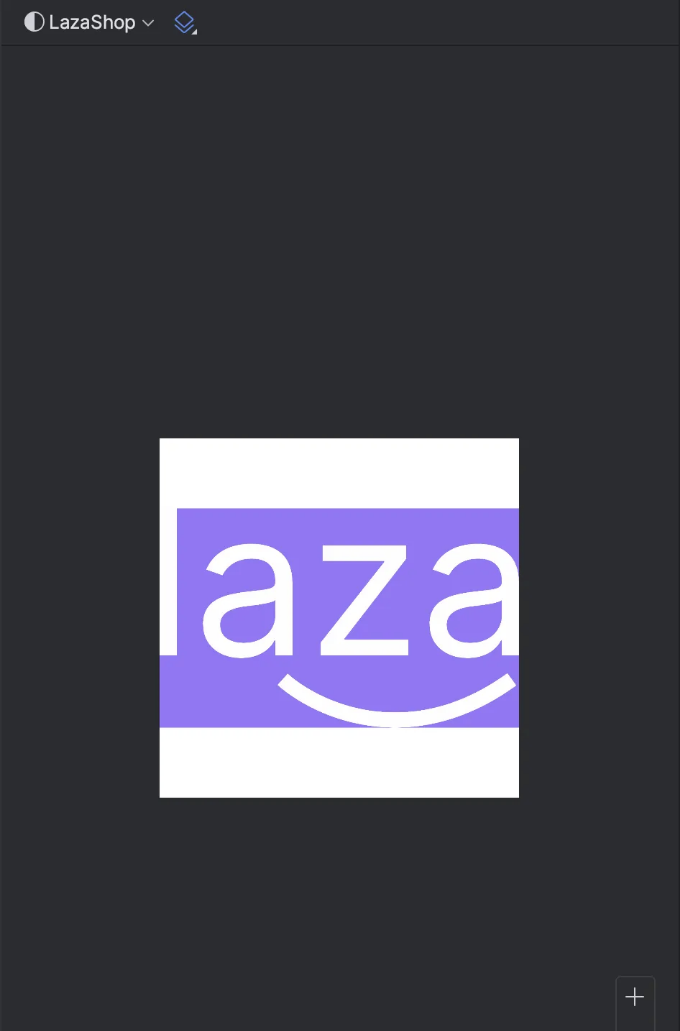
최종 결과
요약
이 블로그 포스트를 통해 SplashScreen API를 사용하여 간단한 스플래시 화면을 만드는 방법을 배웠어요. 전체 코드 구현을 보려면 제 GitHub 프로필의 LazaShop 프로젝트를 확인해주세요.
SplashScreen 라이브러리를 사용하여 스플래시 화면을 사용자 정의하는 자세한 내용은 안드로이드 개발자 웹사이트를 방문해주세요.